
Hello In Stitches Family,
If you’ve been around for a while, you’ll know that Wendy loves plants! She has a great greenhouse and grows a lot of her own flowers and vegetables. So, can we take a few moments of your time to talk about something other than embroidery?
Thank you for indulging us!
Let’s go through a quick checklist for planting. (This is great for vegetables or flowers!)
There is nothing better, in our opinion, than the smell of soil in a greenhouse!
Step 1: Know your average last frost date
As the name implies, this is the time that you often get your last frost. In order to remember the date, I like to remember an important date by it. Let me explain. Our average last frost date here in South Dakota is May 15th so I remember that I can plant around Mother’s Day.
Our blog writer Ashley lives in the Pacific Northwest so their last frost date is April 15 – tax day.
Our social media expert Erin lives in Georgia so March 23. Sadly, I can’t think of any other way to remember that than by just remembering it.
But what about you? What is your average last frost date? Go to this website, put in your zip code and there you have it!
Note that this is an AVERAGE number meaning some years it’s going to be earlier and some years it’s going to be later.
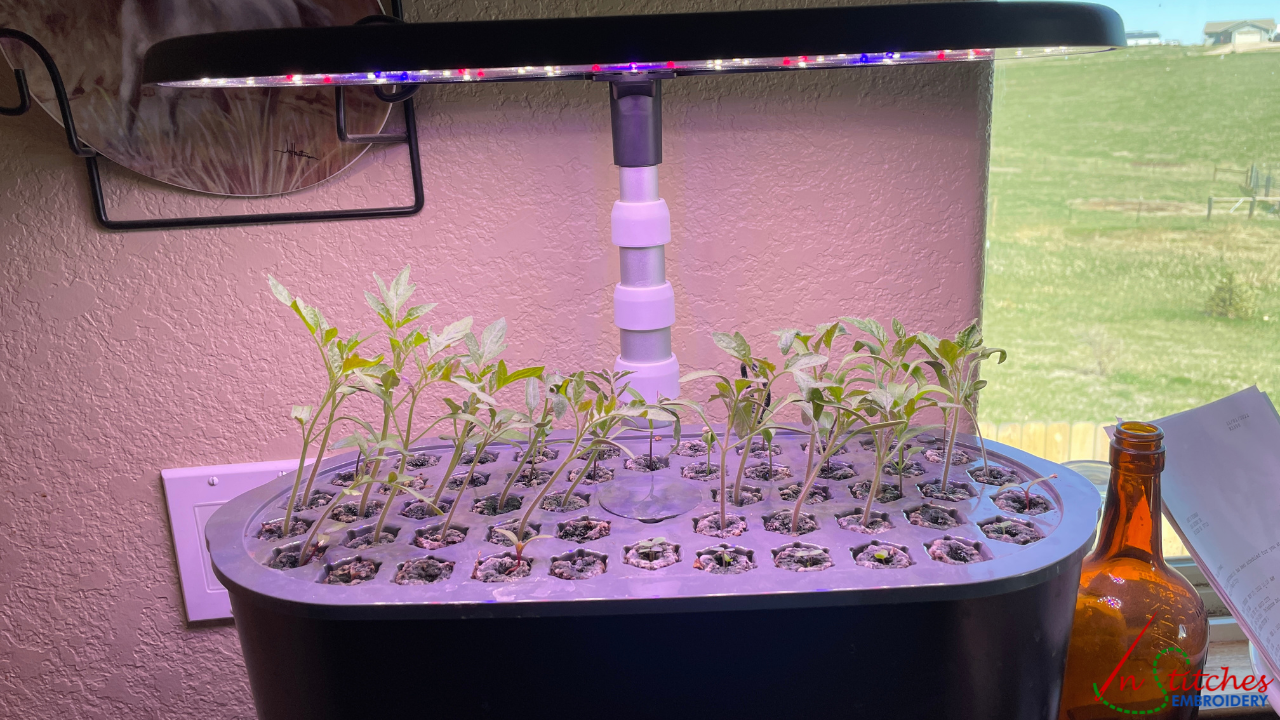
Step 2: Start your seeds
We could probably talk for hours and hours about seed starting, but here’s the thing. You need warmth, light, and humidity to get seeds to sprout. Count backwards from your average last frost date for warm weather crops like tomatoes. If you can put them out in May, and they take about 4 weeks to get to the size you want, then you start them in April.
I’ve also really loved this contraption, an Aerogarden with Seed Start Plate that gives my seedlings just what they need. Total game changer!
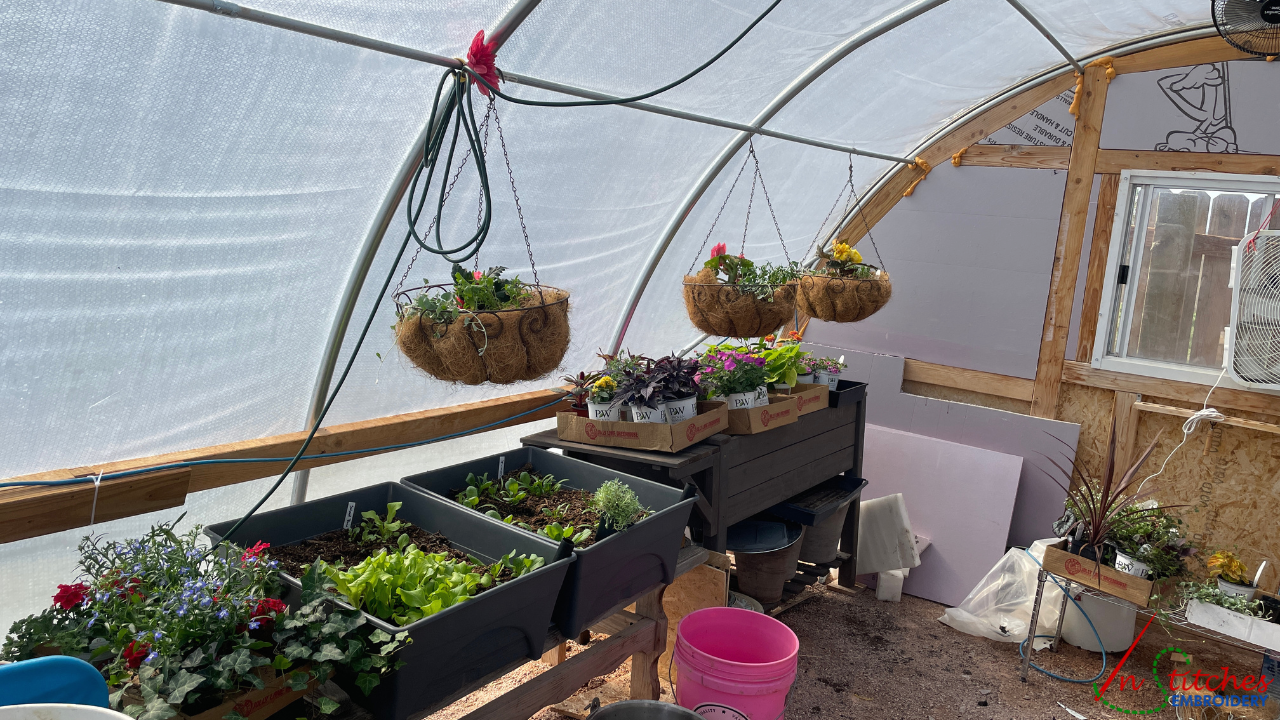
Step 3: Get your gardening beds ready
Raised beds are all the rage right now because of a few key things. One, they get you off the ground so you don’t have to bend over so much and two, you can use whatever kind of soil you want. If you have hard pack clay soil, no worries, put a raised bed on there and fill it full of the best dirt ever!
In South Dakota the raised beds make it so there is NO Canadian thistle, which is the bain of our existence.
Here’s a little hint for the raised bed – put cardboard in the bottom to keep the weeds from joining the party. You can also put down weed fabric to keep the weeds down everywhere else. Not worrying about weeds makes enjoying gardening so much better!

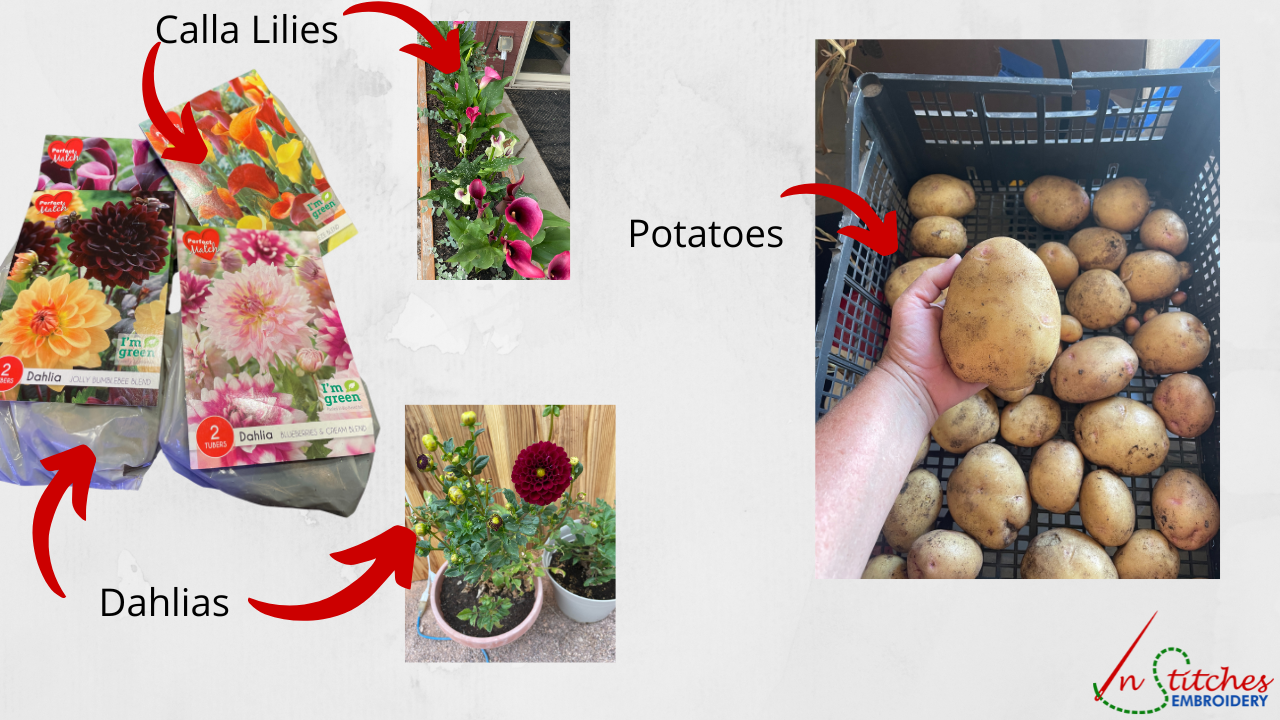
Step 4: Get your bulbs ready to go in
Summer flowering bulbs are a great way to enjoy some color when it’s warm. Things like dahlia tubers (which aren’t exactly bulbs but you get the drift), calla lilies, even potatoes (which again, aren’t bulbs but…)
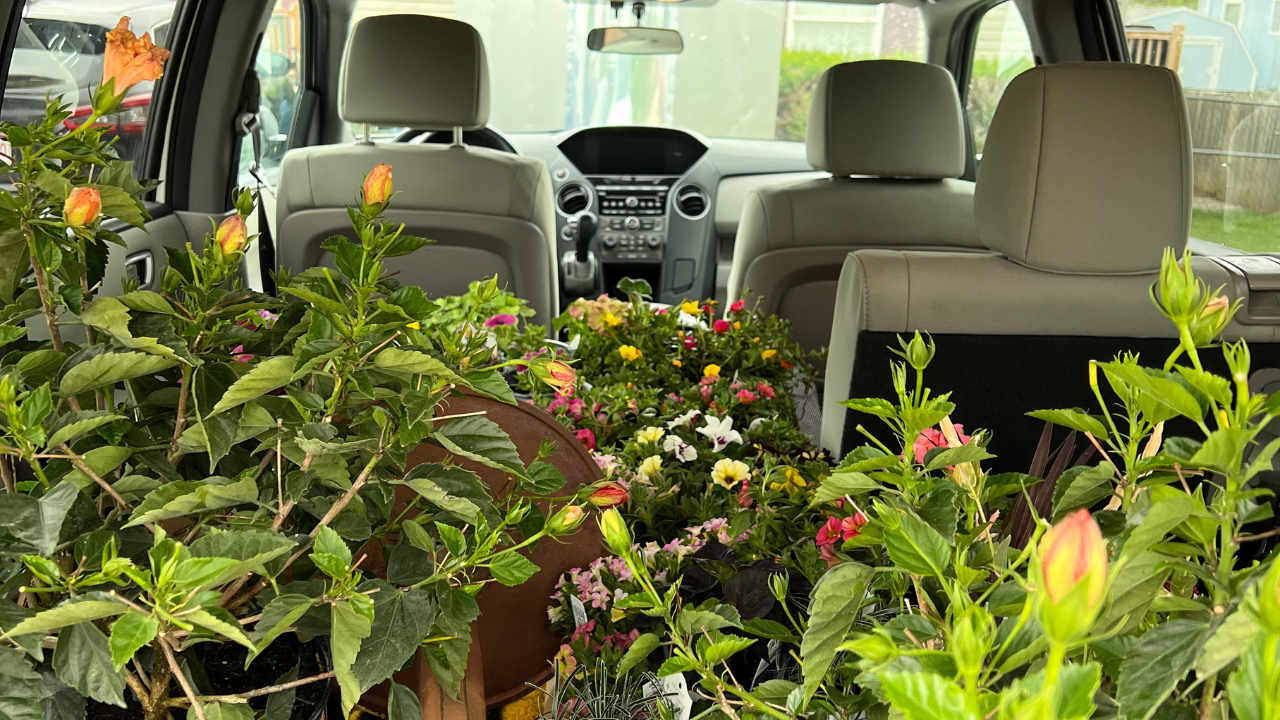
Step 5: Go to the nursery
Go see what’s out there! But don’t forget to bring a big car.
Step 6: This is the best one – enjoy what you grow!
All of these plants started as a little seed, and then turned into something edible or beautiful or both! The hurry of the spring gives way to this beauty so don’t forget to enjoy it!
So, if you ever want to talk about gardening, you know who to contact!
Want to see some funny gardening shirts we made up? Take a look here.